
I remember the summer my granddaughter came to me, looking for something cold and sweet but worried about her sugar intake. We stood right there at the kitchen counter, and I told her, “Honey, we can make a treat that loves you back.” We whipped up this Keto Ice Cream, and it has been a family favorite ever since. This recipe brings the comfort of Southern kitchen wisdom to a dessert that fits a modern, health-conscious lifestyle, and it is made without any baking at all.
Essential Ingredients for Homemade Keto Ice Cream
The beauty of this recipe lies in its simplicity and real ingredients. You only need four cups of total liquid, starting with two cups of heavy whipping cream. This provides the rich, creamy foundation that makes homemade keto ice cream taste decadent, not deprived.
We use one cup of unsweetened almond milk to lighten the texture without adding unnecessary carbs. This blend keeps our keto ice cream smooth and scoopable straight from the freezer. For sweetness, half a cup of powdered erythritol does the job beautifully, offering that classic sweetness without spiking blood sugar.
A full tablespoon of vanilla extract brings warmth and aroma, reminiscent of old-fashioned custards. Finally, a quarter teaspoon of xanthan gum acts as the magic stabilizer. This small amount ensures your no bake keto dessert doesn’t turn into an icy brick, keeping the texture velvety and soft.
Quick Chill Time for Perfect Keto Ice Cream Texture
Timing is everything in the kitchen, even when you are not turning on the stove. This recipe has a prep time of just 10 minutes, followed by a freeze time. You won’t be using the oven or stove at all, just the freezer and a blender.
The total active time is only 10 minutes, making this the fastest keto frozen treats you can make. However, patience is required for the final set. You must let the mixture freeze for at least four hours to achieve the proper firmness for scooping.
Stirring every hour during the freeze time is the secret to a creamy texture. This manual agitation breaks up ice crystals that form, ensuring your keto ice cream remains smooth. It is a simple step that makes a huge difference in the final product.
How to Make No-Bake Keto Ice Cream Step by Step
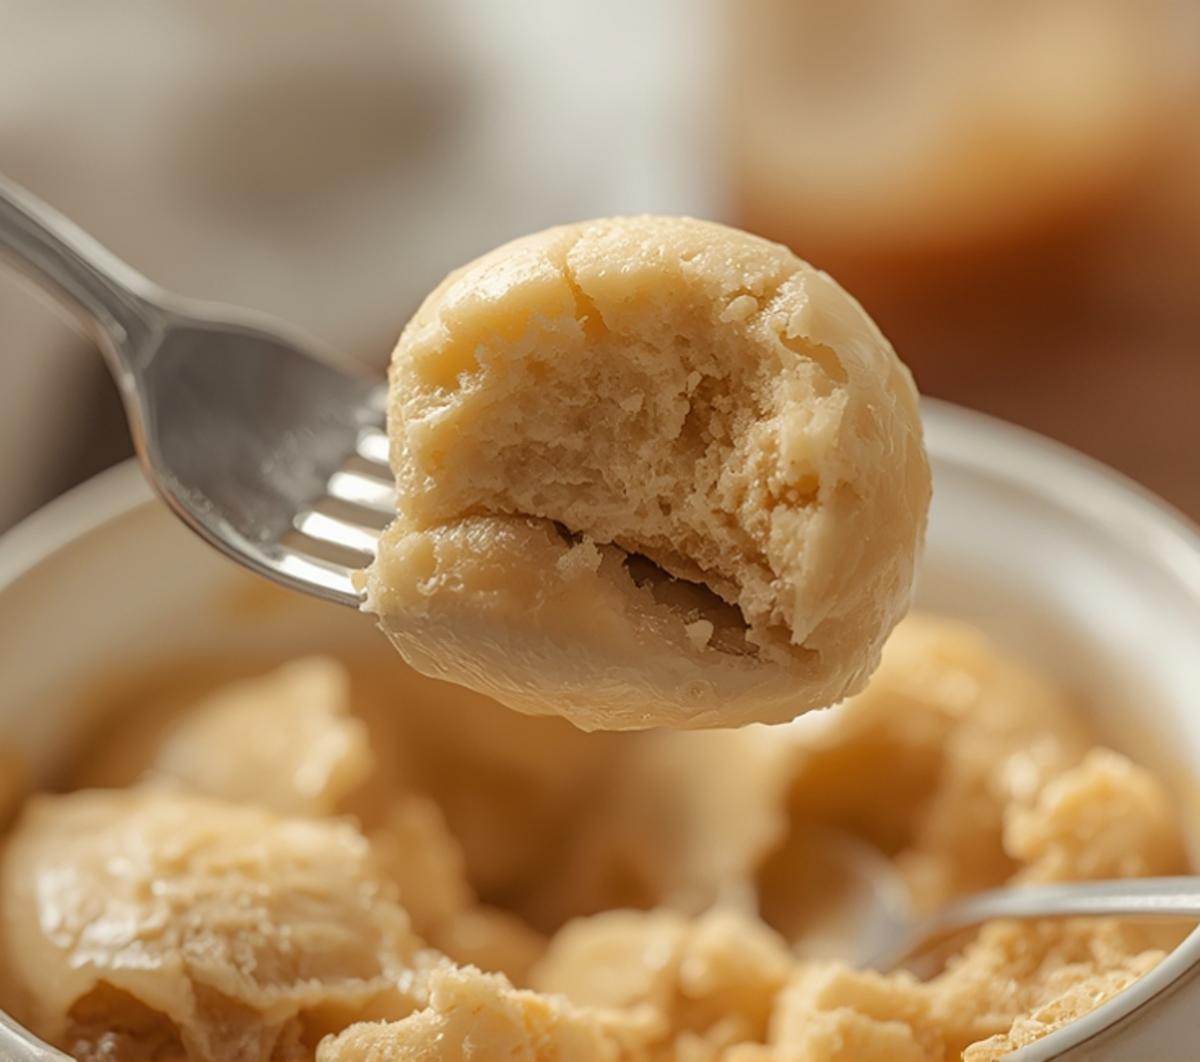
The process is straightforward, relying on your blender to do the heavy lifting. Follow these steps exactly to ensure the xanthan gum incorporates fully and the texture is perfect.
First, combine the heavy cream, almond milk, erythritol, vanilla extract, and xanthan gum in your blender. Secure the lid tightly to avoid any mess while blending. I always check that the container is seated properly on the base before starting.
Next, blend on high until the mixture is smooth and slightly frothy. This should take about one minute of blending time. You want to see the ingredients fully emulsified into a uniform liquid.
Then, pour the mixture into a freezer-safe container. I prefer a glass loaf pan or a sturdy plastic tub with a tight-fitting lid. Spread the mixture evenly so it freezes at the same rate.
Finally, freeze the mixture for at least four hours. Remember to stir every hour for a creamier texture. This manual stirring is what keeps your no bake keto dessert from becoming icy.
Once firm, scoop and serve when ready. The result is a rich, satisfying treat. Enjoy this homemade keto ice cream immediately for the best texture.
Why This Keto Ice Cream Fits Your Low-Carb Lifestyle
This recipe is designed specifically for those watching their carbohydrate intake. It uses no sugar, relying instead on natural sweeteners that do not impact blood glucose. You can enjoy a bowl of ice cream without the guilt or the sugar crash.
The first mention of keto ice cream in this section highlights how traditional ice cream is reimagined here. We strip away the sugar and grains, keeping the fat and flavor that make dessert satisfying. This aligns perfectly with a low carb dessert approach.
Using heavy cream and almond milk creates a high-fat, low-carb base. This combination supports ketosis while providing essential nutrients. It is a far cry from the artificial low-fat options that often leave you hungry.
Every ingredient serves a purpose in supporting your health goals. The erythritol sweetens without the calories of sugar. This makes it a true sugar free ice cream option that feels indulgent.
For those looking for a no bake keto dessert, this recipe is a lifesaver. It requires no cooking, no oven, and no special techniques beyond blending. It is a healthy dessert that fits seamlessly into a busy schedule.
Delicious Variations for Your Keto Ice Cream Base
Once you master the base recipe, the possibilities are endless. You can easily customize it to suit your tastes or what you have on hand. These variations keep your homemade keto ice cream exciting.
For a chocolate twist, add two tablespoons of unsweetened cocoa powder to the blender. This creates a rich chocolate flavor without adding carbs. It pairs beautifully with the vanilla base.
If you prefer fruit flavors, add a handful of fresh berries or a splash of sugar-free syrup. Be mindful of the carb count in berries, but a small amount adds wonderful flavor. This creates a refreshing keto frozen treat perfect for summer.
You can also experiment with different extracts. Almond extract or peppermint extract can change the profile entirely. Start with a teaspoon and adjust to your preference.
Adding a pinch of sea salt can enhance the sweetness and depth. This small addition makes the flavors pop, much like a pinch of salt in caramel. It is a chef’s secret that works beautifully here.
Common Errors When Making Keto Ice Cream at Home
One common mistake is not blending the xanthan gum enough. If it doesn’t fully dissolve, you might get small gelatinous bits in your ice cream. Always blend on high for the full minute to ensure it is smooth.
Another error is skipping the hourly stirring during freezing. If you leave it untouched, ice crystals will form, making the texture grainy. This step is crucial for a creamy result.
Using the wrong container can also be problematic. Ensure your freezer-safe container is clean and dry. Any residual water can create ice crystals that ruin the texture of your keto ice cream.
Overfilling the blender can lead to spills and uneven mixing. Follow the measurements carefully and leave room for the mixture to circulate. This ensures all ingredients are fully incorporated.
Finally, impatience is a big error. If you try to scoop it before the full four hours, it will be too soft. Trust the process and let it freeze until firm for the best no bake keto dessert experience.
How to Store and Keep Keto Ice Cream Creamy
Proper storage is key to maintaining that fresh-made texture. Always keep your keto ice cream in a freezer-safe container with a tight lid. This prevents freezer burn and keeps odors out.
If you notice ice crystals forming on top, simply stir them back into the mixture when you take it out. This helps maintain a creamy consistency over time. It is a simple trick that extends the life of your dessert.
For the best scooping, let the container sit on the counter for five to ten minutes before serving. This softens the edges just enough to make scooping easy without melting into soup. It respects the hard freeze we worked for.
Label your container with the date. While this keto ice cream is best within two weeks, it can last up to a month in the freezer. The fats in the cream can sometimes separate if stored longer, so freshness matters.
Never store it near the freezer door where temperature fluctuates. The back of the freezer is colder and more stable. This keeps your no bake keto dessert at the perfect consistency.
Enjoy Your Homemade Keto Ice Cream Today
I hope this recipe brings as much joy to your kitchen as it has to mine. There is something deeply satisfying about creating a treat that nourishes your body and delights your taste buds. This keto ice cream is more than a dessert; it is an act of self-care.
Gather your ingredients, blend with intention, and freeze with patience. You are not just making ice cream; you are making a memory. Share it with family, or savor a quiet moment with a bowl all to yourself.
This healthy dessert proves that you do not need sugar to enjoy sweetness. Trust the ingredients, trust the process, and trust yourself. Your body will thank you for choosing real food.
From my North Carolina kitchen to yours, I wish you health and happiness. May your freezer be full of satisfying keto frozen treats that keep you cool and content. Keep cooking with love and intention.
Nutrition Facts (Per Serving)
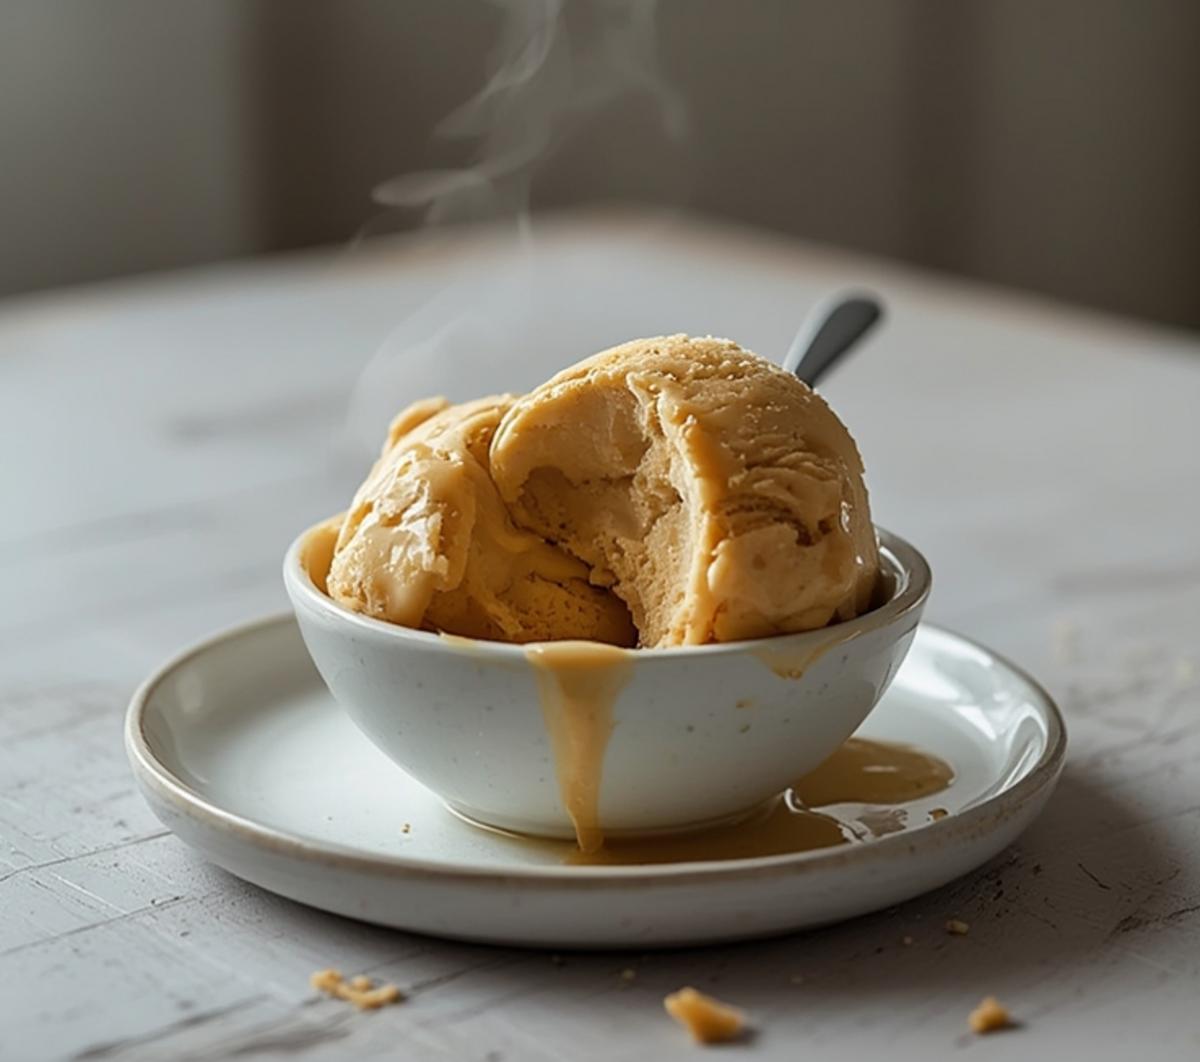
Creamy No-Bake Keto Ice Cream Recipe
Ingredients
Equipment
Method
- Combine heavy cream, almond milk, erythritol, vanilla extract, and xanthan gum in a blender.
- Blend on high until smooth and slightly frothy, about 1 minute.
- Pour the mixture into a freezer-safe container and freeze for at least 4 hours, stirring every hour for a creamier texture.
- Scoop and serve when firm.
Frequently Asked Questions
Can I substitute almond milk with coconut milk in keto ice cream?
Yes, you can use full-fat coconut milk for a richer texture. It may make the ice cream slightly firmer when frozen. Adjust sweetness if needed as coconut milk has a distinct flavor.
How long does homemade keto ice cream last in the freezer?
Store it in an airtight container for up to 2 weeks. For best texture, let it sit at room temperature for 5 minutes before scooping. The creamy consistency holds well if stirred during freezing.
Can I make this keto ice cream ahead of time?
Absolutely, prepare the mixture and freeze it overnight for optimal firmness. It’s perfect for meal prepping low-carb desserts. Just stir once during the first hour of chilling for creaminess.
What is the best way to reheat or soften keto ice cream?
No reheating needed since it’s frozen; simply leave it out for 5-10 minutes to soften. Avoid microwaving as it can melt unevenly. Stir gently if it becomes too soft before serving.
How can I serve this keto ice cream for a party?
Scoop into bowls or cones and top with sugar-free chocolate shavings or berries. Pair it with keto-friendly coffee for a dessert bar. Serve chilled right from the freezer for the best experience.
Have more questions? Leave a comment below and we will help you out!